


 Subscribe with RSS Reader
In his new book, Slim by Design, eating-behavior expert Brian Wansink shows us how to get our kitchens working better


Your kitchen might be the workhorse room in your home, but it also might be working against you and your waistline. That’s the scenario Brian Wansink (pictured) — a professor at Cornell University and the director of Cornell’s Food and Brand Lab, where he’s the leading expert in eating behavior — presents in his new book, Slim by Design: Mindless Eating Solutions for Everyday Life (September 23, 2014, HarperCollins, $26.99).
The book is divided into chapters on how the design of restaurants, supermarkets, lunchrooms and our home kitchens affects our mindless eating habits, those triggers that cause us to eat more, snack more and eventually gain weight.
Have an all-white kitchen? Do you keep cereal in view? Got a TV and big comfy chairs in your kitchen? Then you’ve got several booby traps that might cause you to eat more without even realizing it.
“Things aren’t determined by our tastebuds’ being fixed,” Wansink says. “It’s factors around us. Color, light, the size of our plates, a cereal box — knowing how these things influence us, we can reengineer our environments to mindlessly eat better and eat less instead of relying on willpower alone.”
Here are a few tips from the book:
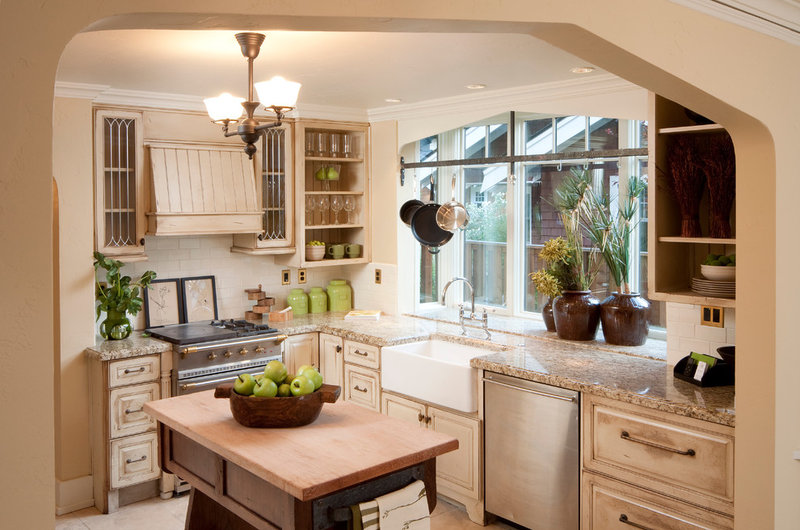
1. Take all food off the counter unless it’s fruit. In what’s referred to as the Syracuse study, Wansink and his research team visited 240 homes and measured and photographed everything. They documented plate size, whether there were TVs in the kitchen, spice racks, radios, you name it.
After eight months of analyzing the photos and data, one of the things they found was that food on the counter is really bad. Women who had a box of cereal visible anywhere on average weighed 21 pounds more than a neighbor who didn’t.
In another study the team moved the candy dishes from on top of the desks of 40 administrative assistants to inside their desks. The average assistant ate 74 fewer calories each day. “The equivalent of not gaining 5 or 6 pounds over the next year,” Wansink writes. “The best thing you can do is not to have food sitting out in the kitchen, unless it rhymes with roots and wedgies.”
2. Get rid of the clutter. It’s not just food working against you, either. All those piles of mail and newspapers and gadgets aren’t doing you any good. Wansink has found that in cluttered environments, people eat 44 percent more snacks than those in a clutter-free environments.
See how to get a spotless, organized kitchen
See how to get a spotless, organized kitchen
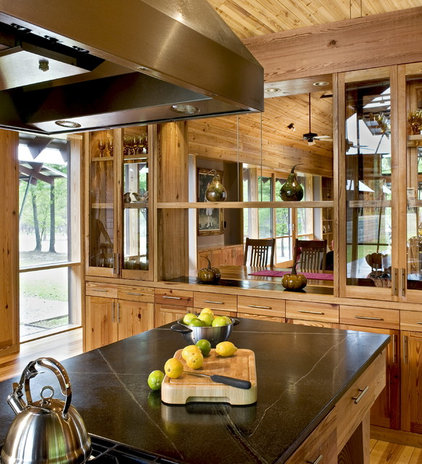
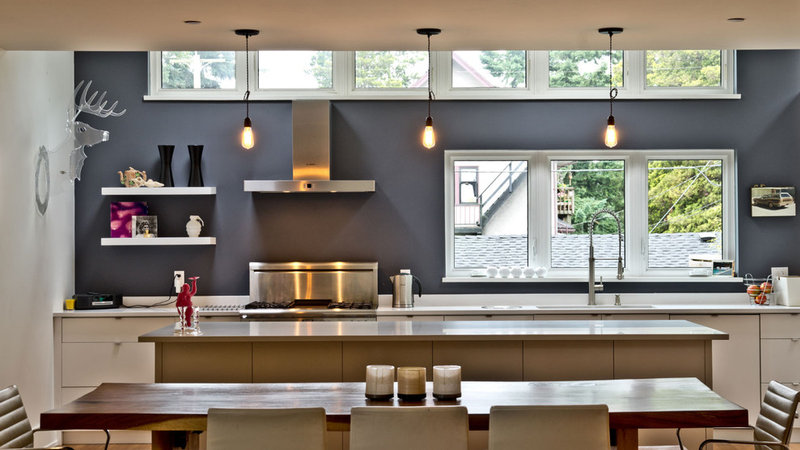
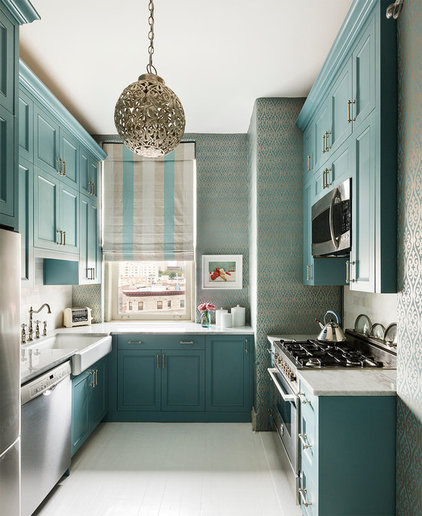
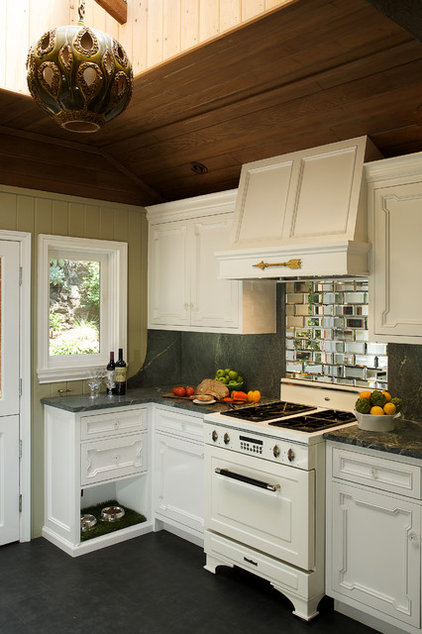
3. Paint your kitchen anything but white. OK, this is a tough one. According to a Houzz survey, almost 75 percent of homeowners prefer a soft and neutral kitchen. But Wansink has found that white and bright spaces tend to stimulate eating.
But the opposite spaces are bad too. Really dark rooms with low lighting and soft music tend to slow people down, causing them to linger and eat for an average of nine minutes longer. “The darker the space, the longer you stick around and the more likely you are to break down and have another serving,” says Wansink, adding that an in-between color is best. His own kitchen is pumpkin colored. “It’s in between two evils,” he says. “Gold, green, blue, tan, earth tones — those are all good. Any color seems to work other than white or cream.”
Another trend is the decline of the dining room. Wansink says one of the best strategies is to eat in the dining room, because you’re farther from the food.
See more on in-between colors
4. Make your kitchen less lounge friendly. This is another suggestion that goes against what many homeowners seem to want in their kitchens.
These days the kitchen is the hub of the home, where kids do homework, where messages get posted and, yes, even where TV watching occurs. But, according to Wansink, this all creates a pitfall when it comes to snacking. “The more you hang out in your kitchen, the more you’ll eat,” he writes.
When people removed things like TVs, iPads and comfortable chairs, they reported that they spent 18 fewer minutes in the kitchen each day. “That’s less munching on cereal, chips and Samoa cookies,” he writes.
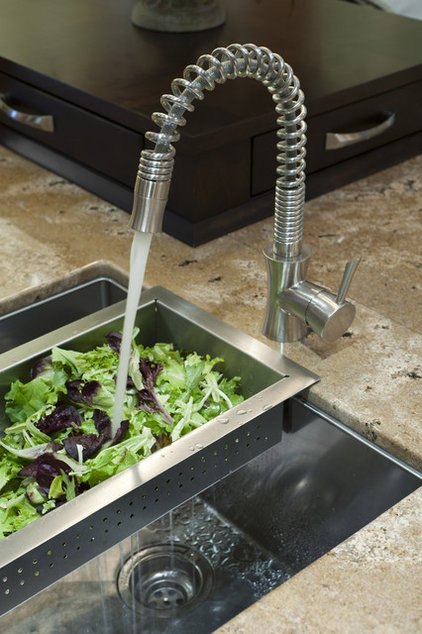
5. Make it easier to cook. Wansink admits that the science isn’t as strong here, but it’s based on a few trends he and his team have observed about what people say they do.
Things like making it easy to prep food, especially vegetables, making sure your fridge door swings directly open to the sink and having bright halogen spotlights, music playing and a prep space for a helpful friend, spouse or kid — these things entice people to cook more fresh food at home.
(He notes that the direction of a fridge door can be switched for $40 unless it’s a side-by-side model.)
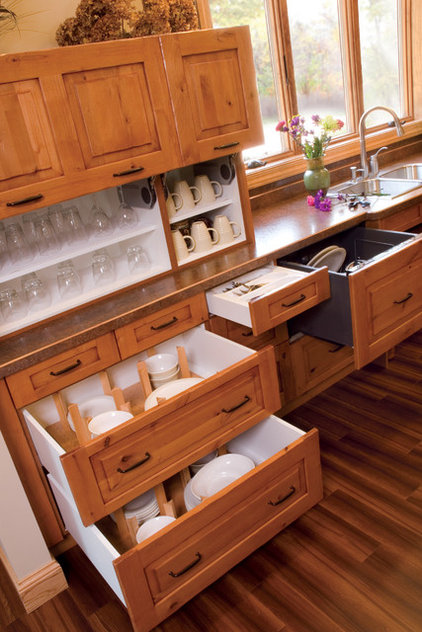
6. Rearrange your food. You’re three times more likely to eat the first food you see in the cupboard than the fifth one, Wansink has found. That means if the first thing you see is a bag of chips, look out. Instead, make sure the healthy foods are the first ones you see and toss the chips and cookies in the back.
After people moved their fruits and veggies from the crisper to the top shelf in the fridge and the less healthy foods into the crisper, they reported eating three times as many fruits and veggies.
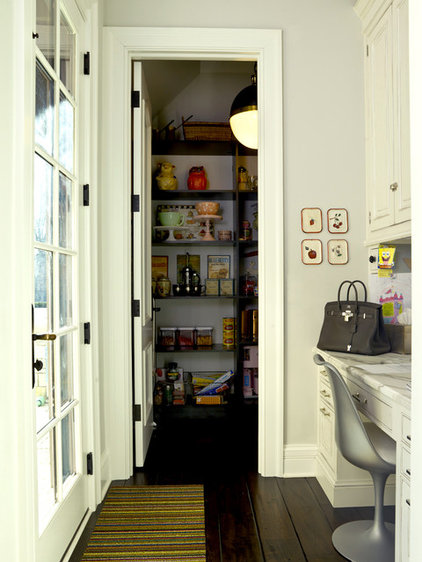
Wansink sometimes even suggests moving the pantry to another room far away from the kitchen. (The pantry becomes the coatroom, say, and the coatroom becomes the pantry.) Or putting shelves or cabinets in a laundry room — or in a basement, which is what Wansink and his family did to make the pantry less browsable for snacks, and to give them a few more steps of exercise.
Why not just vanquish tempting foods? “First, it’s fine to have an occasional treat,” he writes. “Second, it’s not realistic if you have growing kids who constantly forage and bring friends over to feast.” For this try setting up a designated “kids’ cupboard that’s off-limits to you,” he recommends.
See more on cleaning out the pantry
After people moved their fruits and veggies from the crisper to the top shelf in the fridge and the less healthy foods into the crisper, they reported eating three times as many fruits and veggies.
Wansink sometimes even suggests moving the pantry to another room far away from the kitchen. (The pantry becomes the coatroom, say, and the coatroom becomes the pantry.) Or putting shelves or cabinets in a laundry room — or in a basement, which is what Wansink and his family did to make the pantry less browsable for snacks, and to give them a few more steps of exercise.
Why not just vanquish tempting foods? “First, it’s fine to have an occasional treat,” he writes. “Second, it’s not realistic if you have growing kids who constantly forage and bring friends over to feast.” For this try setting up a designated “kids’ cupboard that’s off-limits to you,” he recommends.
See more on cleaning out the pantry
7. Reconsider your plate size. Most dinner plates are 11 to 12 inches in diameter. Since we subconsciously fill up our plates — and we tend to eat more than 90 percent of what’s on our plates — plate size can affect the amount of calories you’re eating. It works like this: “Two ounces of cooked pasta is about 1 cup, has around 300 calories and looks huge on a 10-inch plate,” Wansink writes. “The same 2 ounces on a 12-inch plate — the size most of us have — looks like a measly appetizer, so we serve ourselves another spoonful. If we do that just once a day, we’ll eat about 80 extra calories. If we eat off these plates for three meals a day, it quickly adds up.”
A small difference can make a big impact, though. A 9- to 10-inch plate will allow you to eat less. Wansink warns that if you go below 9 inches, you will likely realize you’re being fooled and will go back for more servings. If you use a larger serving bowl, you’ll end up dishing out 17 percent more. Use a large serving spoon, and you’ll take on 14 percent more calories. Glasses, too. You’ll pour more juice or wine into a bigger glass than a smaller one. You’ll pour more into a wider one than a narrow one. “When it comes to setting your dining room table, think small,” Wansink writes.
A small difference can make a big impact, though. A 9- to 10-inch plate will allow you to eat less. Wansink warns that if you go below 9 inches, you will likely realize you’re being fooled and will go back for more servings. If you use a larger serving bowl, you’ll end up dishing out 17 percent more. Use a large serving spoon, and you’ll take on 14 percent more calories. Glasses, too. You’ll pour more juice or wine into a bigger glass than a smaller one. You’ll pour more into a wider one than a narrow one. “When it comes to setting your dining room table, think small,” Wansink writes.
Wansink is the first to admit that nobody is perfect and that it’s impossible to do everything. He’s developed a 100-point checklist, featured in the book, that allows homeowners to gauge how well their kitchen is working for them. It contains phrases like, “There is a blender on the counter” and “A fruit bowl is visible.” Check fewer than 40, and your kitchen is working against you. Above 60 and it’s working for you. (I scored a 48. Wansink’s family got an 83.)
“People who don’t have a microwave or keep their microwave in a different room tend to weigh less,” he says. “They cook more from scratch and eat fewer pre-prepared foods. So you can move your microwave to another room. But not everyone is going to do that. That’s fine. There are 99 other things you can do too.”
And Wansink knows what you’re thinking: Now that you know all of this, you won’t snack so much, right? Wrong. “During the day’s chaos, our automatic behaviors lead us to make the same mindless eating mistakes we’ve always made,” he says. “We suffer — and so do our kids. It’s really difficult to become slim by willpower. It’s a lot easier to become slim by design. You change it once and forget about it.”


